
This article provides instruction and information on setting up California 1 percent (1)% Lumber tax.
Creating a department
- In Paladin, from the main menu, select File >Setup.
- Select the Dept tab.
- Under the ID and Name field, click New.
- In the Name box, enter LUMBER.
- Enter a number in the Department label number box. For this article, 69 is used.
- In the field under the Name box, make sure all the non-taxable boxes are unchecked.
- Click Save.
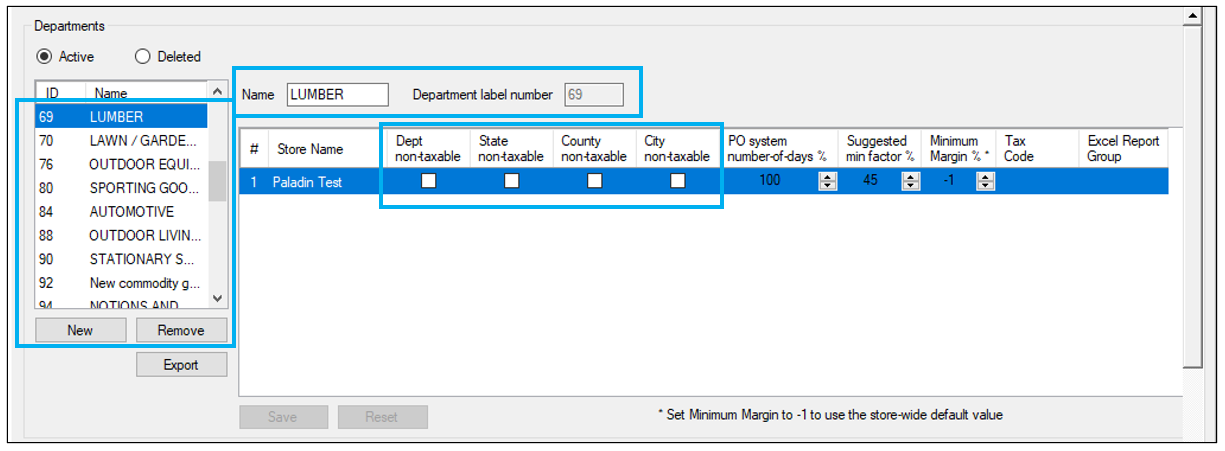
Figure 1: New Department setting
- Go through each of the remaining active departments and make sure all have the City non-taxable box checked.

Figure 2: City non-taxable checkbox
- Click Close.
Assigning the department
- In Paladin, on the top ribbon, select the Inventory module.
- Select the General tab.
- In the Item Information pane, assign the newly created LUMBER department code to all qualifying taxable lumber items by selecting the department you created from the Dept: list.
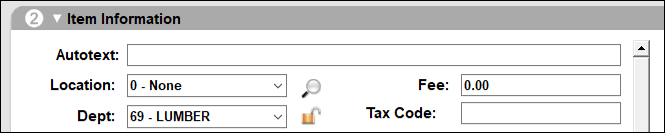
Figure 3: Department assigned
- Click F12 Save, then exit out of the Inventory module.
Assigning tax definitions
For California Lumber tax, only a city tax needs to be created.
- In Paladin, from the main menu, select File > Setup.
- Select the Taxes tab.
- In the Tax Definitions pane, click New.
- In the Name box, enter LUMBER.
- Enter 1 in the Tax % box.
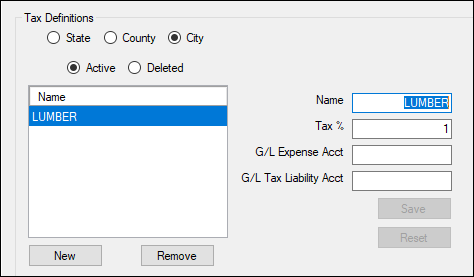
Figure 4: Tax Definitions/LUMBER
- Click Save.
- Under the Tax Settings pane, set the Default City tax to LUMBER.
- The state of California requires that the lumber tax amount be shown on the receipt. Therefore, check Separate Tax Levels on Invoices.
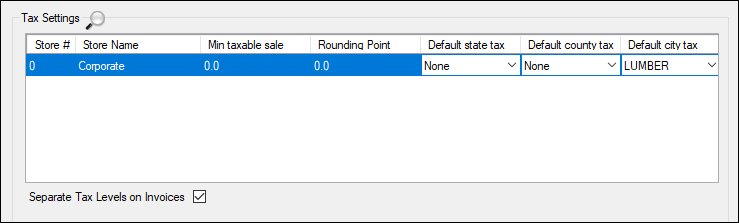
Figure 5: Tax Settings/Default city tax
- Click Close.
- The Confirm Tax Changes window opens.
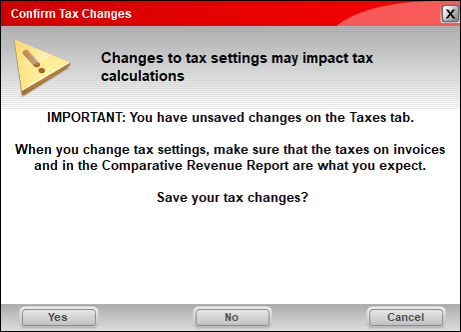
Figure 6: Confirm Tax Changes window
- Click Yes.
If you have questions or suggestions about this information, contact support@paladinpos.com.
*Content is subject to change. For the most recent version, visit the Help Portal.
Printed on: 7/03/26
