
The Equinox Luxe6200m is a portable credit card device for use with BlockChyp. To set up the device:
- Plug the Luxe6200m into power or place onto the charging station to ensure it is charged. Power it on by pressing the volume/power symbol key located below the 9 key.
- The screen displays Touch to Configure Network.
Figure 1: Touch to Configure Network
- After touching the screen, the Select Network screen opens. Tap WLAN for a wireless connection.
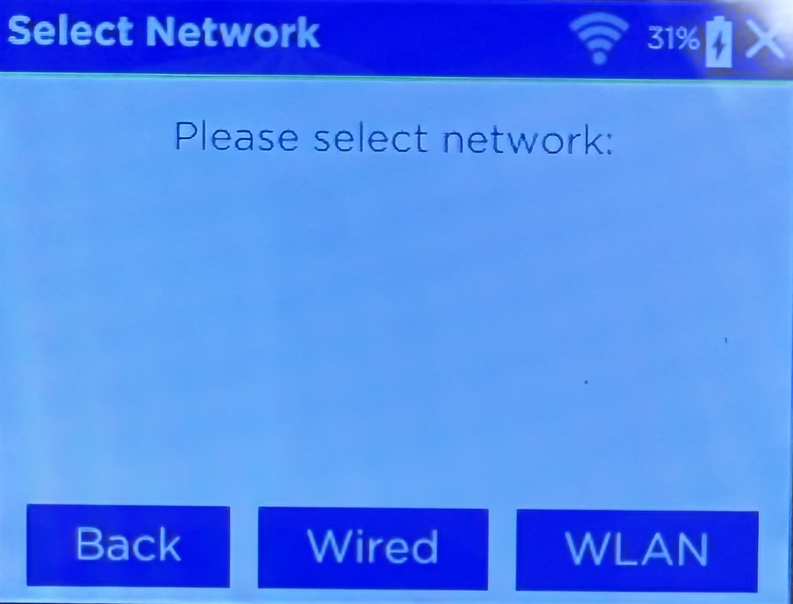
Figure 2: Select Network
- The WLAN screen opens with a list of available connections. Tap on the desired Wi-Fi name.

Figure 3: WLAN
- The WLAN Password screen opens. Tap on the blank password entry field and enter the password for the Wi-Fi network using the on-screen keyboard.
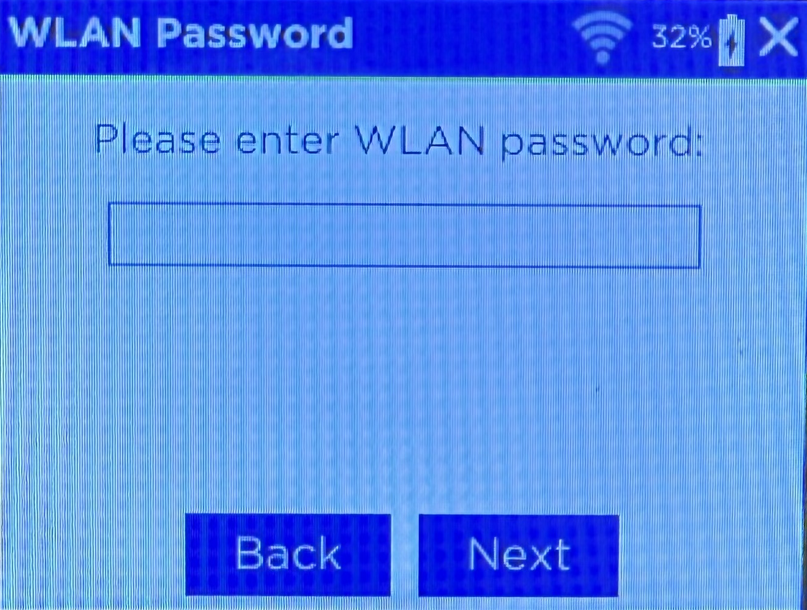
Figure 4: WLAN Password
- Tap Next.
- The Network page opens. Leave the Blacklist cleanup setting On and tap Next.
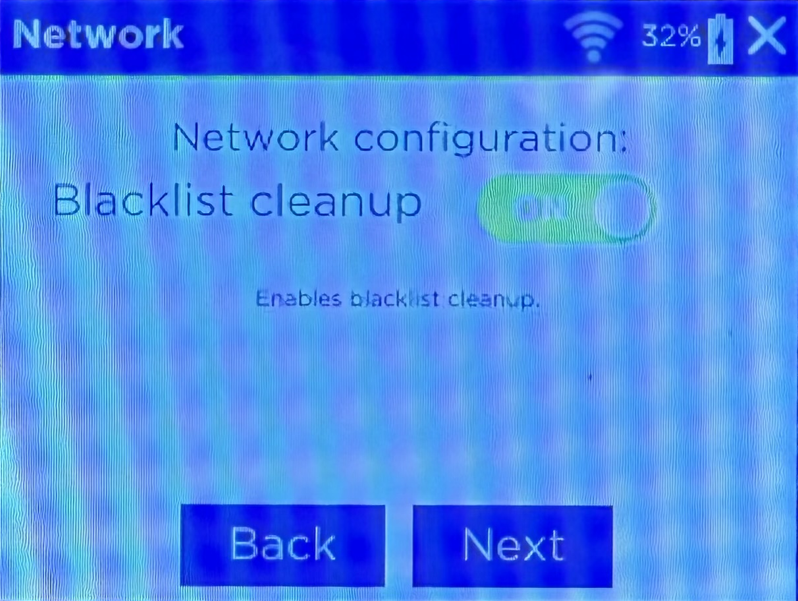
Figure 5: Blacklist Cleanup
- On the following Network screen, leave the HeartBeat setting Off and tap DHCP.

Figure 6: Heartbeat setting
The Luxe6200m will now connect to the Wi-Fi network and open a page stating Touch to Activate.
Figure 7: Touch to Activate screen
- Touch anywhere on the screen to produce an Activation Code.
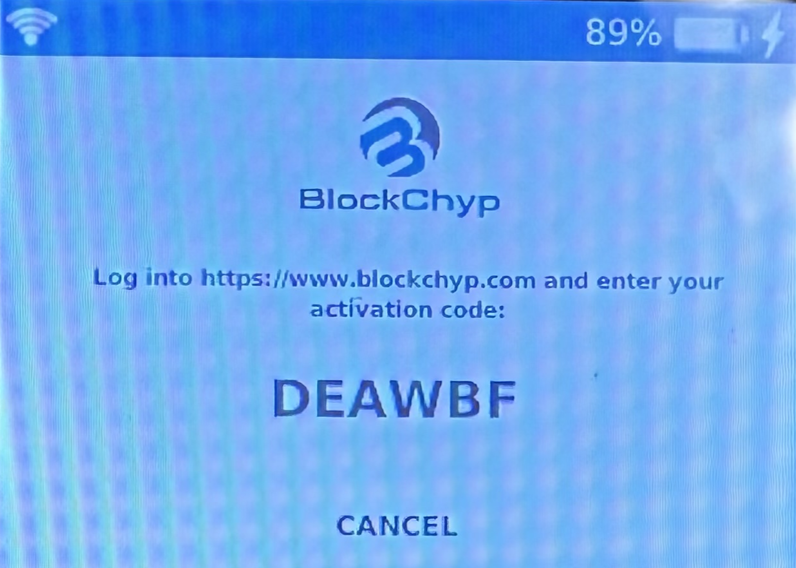
Figure 8: Activation code
Note: This activation code will expire periodically but will refresh. The Luxe6200m will generate a new code on its own. If it doesn’t, power cycle the device.
- Navigate to the BlockChyp portal at: BlockChyp | Integrated Payments and login.
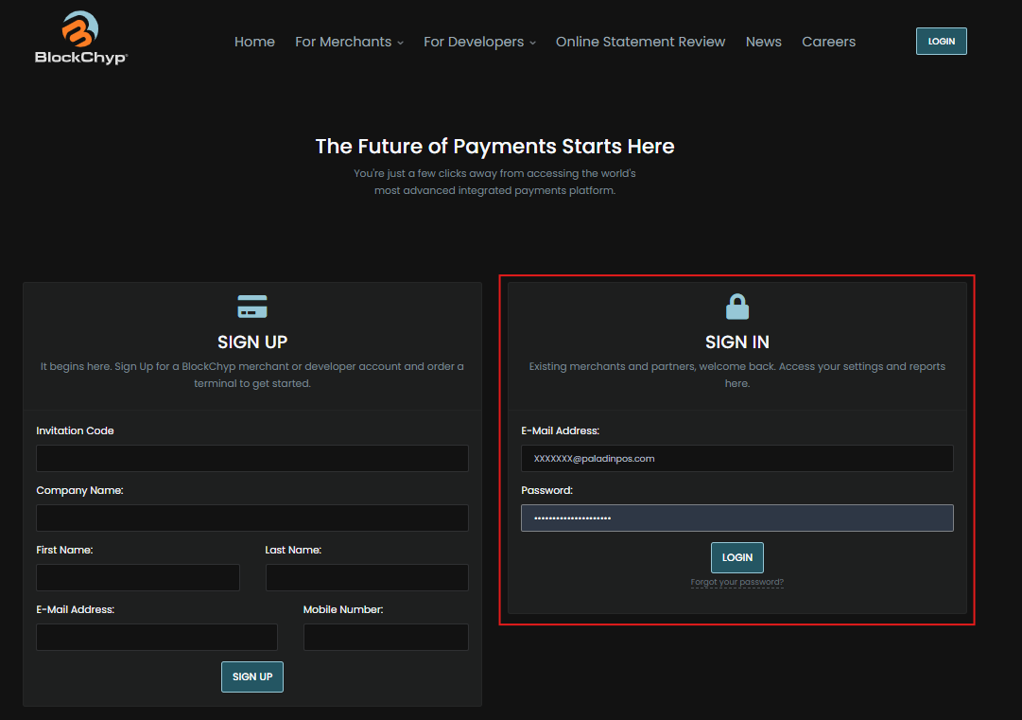
Figure 9: BlockChyp portal
- Under Partner Tools, select All Merchants, and search for the store name that the Luxe6200m is being installed at.

Figure 10: Partner Merchants
- With the store’s BlockChyp page pulled up, select Activate Terminal.
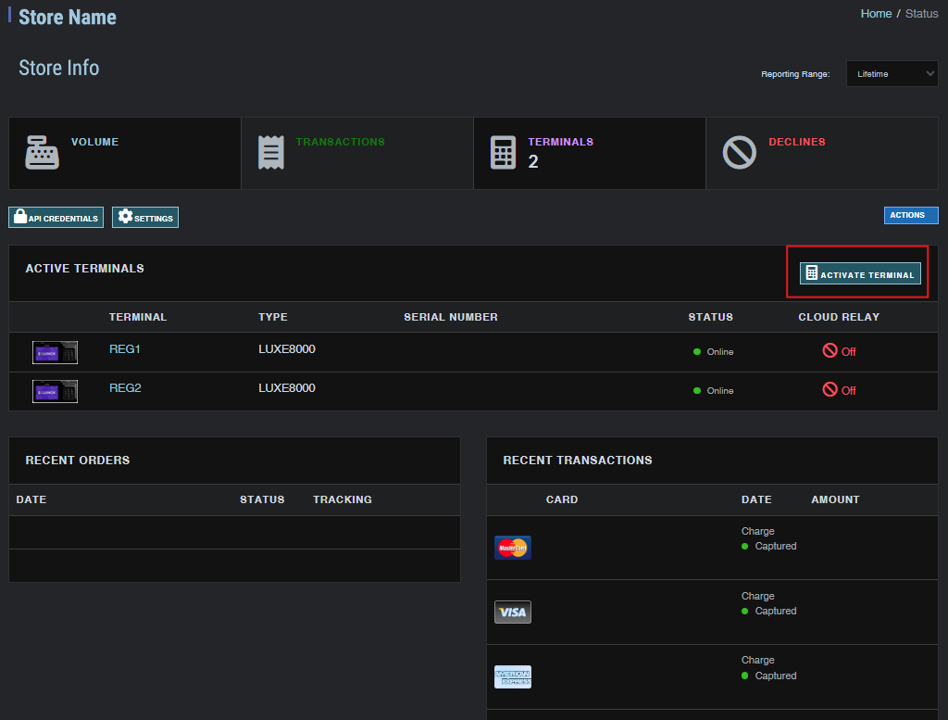
Figure 11: Activate terminal
- On the Activate Terminal screen, enter the Activation Code found on the Luxe6200m as well as the desired Terminal Name for the device.
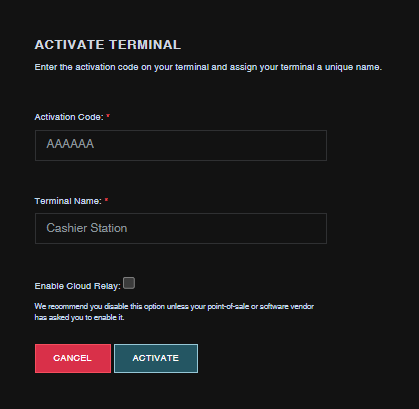
Figure 12: Activation Code/Terminal Name
IMPORTANT: Be sure Enable Cloud Relay is checked. This is not typically required for BlockChyp devices, but is required for the portable Luxe6200m.
- Press Activate to activate the Luxe6200m and get it paired with the BlockChyp Portal. The Luxe6200m will now restart and boot up to a screen displaying the BlockChyp logo. The device is now ready to be set up in Paladin.
- In Paladin, from the main menu, select File > Setup.
- Select the Network tab.
- Select BlockChyp from the Credit Card Device list and enter the Terminal Name assigned in step 12 in the BlockChyp Device Name box.
- Press Ping to test the connection between Paladin and the Luxe6200m.
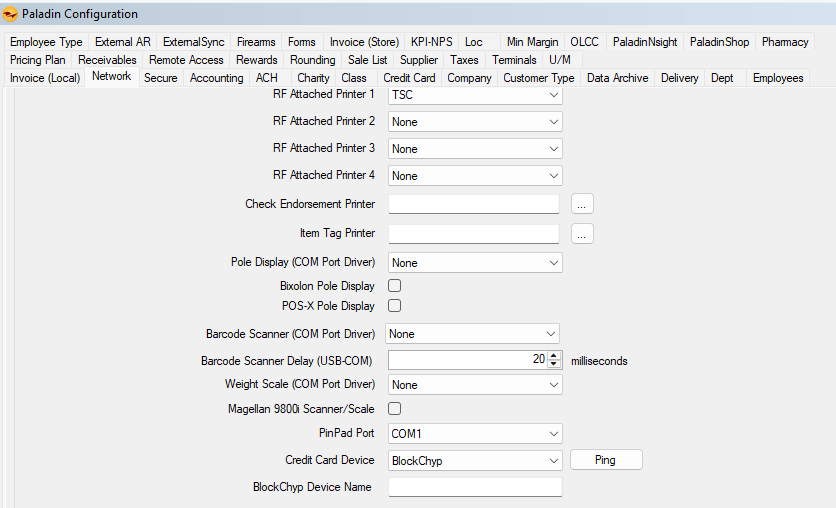
Figure 13: Paladin Configuration Network tab
- Click Save, and then click Close.
- Close and restart Paladin.
- Verify the Luxe6200m is paired by performing a test transaction by inserting or tapping a debit or credit card.
If you have questions or suggestions about this information, contact support@paladinpos.com.
