
To create Classes and Subclasses for inventory items:
Note: Classes or Subclasses will not save if the name is set to (blank name), Unknown, <Not Set>, New Subclass or “New Class #” (with the number symbol representing any real numbers).
Classes
- In Paladin, from the main menu, select File > Setup.
- Select the Class tab.
- Press New.
- Enter the name for the Class in the Name box.
- Enter a Class ID in the Class ID box.
- Select a department from the Default Dept. list (0 – None is the default).
- If you do not want the Class shown in PaladinShop, check Hide in PaladinShop.
- Click Save.
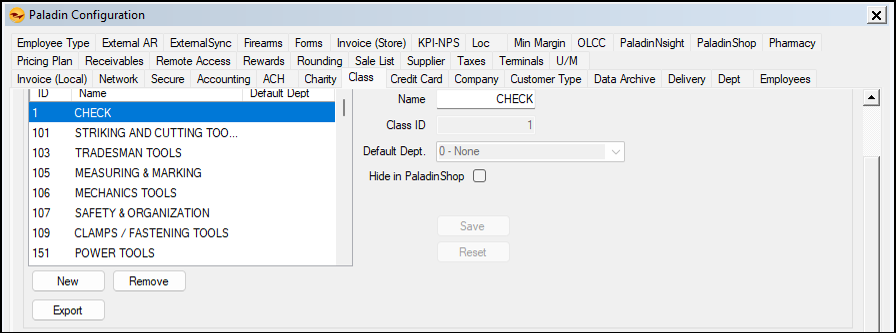
Figure 1: Class tab
- If you want to export the Class to an Excel spreadsheet, click Export.
An Excel spreadsheet opens with the Class added.
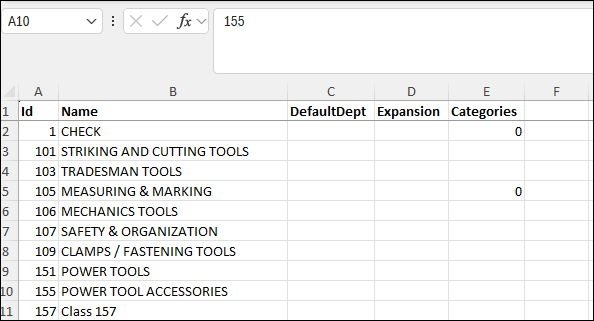
Figure 2: Excel spreadsheet with Classes
Subclasses
- In the Class tab, in the Subclasses pane, click New.
- Enter the name of the Class the Subclass will be associated with in the Name box.
- Enter the Class ID of the main class in the Subclass ID box.
- If you do not want the Subclass shown in PaladinShop, check Hide in PaladinShop.
- Click Save.

Figure 3: Subclasses pane
- If you want to export the Subclass to an Excel spreadsheet, click Export.
An Excel spreadsheet opens with the Subclass added.
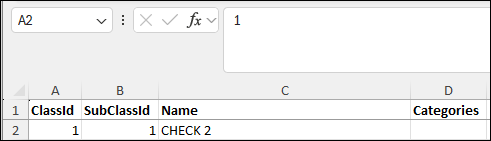
Figure 4: Excel spreadsheet with Subclasses
Assign Classes and Subclasses
To assign Classes and Subclasses in Paladin:
- In the top ribbon of Paladin, select the Inventory module.
- Enter a part number in the Part # box.
- Press Enter.
- Select the General tab.
- In the Classes pane, select the Class from the Class list.
- Select the associated Subclass from the SubClass list.
- On the bottom ribbon of the module, press F12 Save.

Figure 5: Inventory module/ General tab/ Classes pane
If you have questions or suggestions about this information, contact support@paladinpos.com.
*Content is subject to change. For the most recent version, visit the Help Portal.
Printed on: 6/03/26
