
LabelJoy can be purchased at: https://www.labeljoy.com/purchase/ Use Paladin’s 20% discount code ON724D.
There are five (5) steps to set up LabelJoy.
Step 1
Navigate to H:\Squads\Squad1, copy the LabelJoy folder, then paste it to the client’s PC.
Step 2
-
Open the LabelJoy folder and double click on the format you intend to print to (options shown in Figure 1).
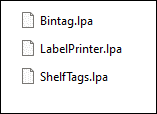
Figure 1: LabelJoy tag options
Important: This automatically links the BinTagInfo.txt file as your data source. This will not work if no BinTagInfo.txt file exists in C:\PaladinPOS\Export. To create a BinTagInfo.txt file, run the Bintag Information File Report in Paladin.
Note: For instruction and information, refer to the Batch and print EDI price changes on full sheet bin tags or shelf tags KBA.
-
If you see options under the Data source section skip to Section 3.

Figure 2: Data source options
- If you do not see options under the Data source section, follow this to link the BinTagInfo file:
- From the top menu, click Data source.

Figure 3: Data source menu item
- In the Data source type window, select Text file.
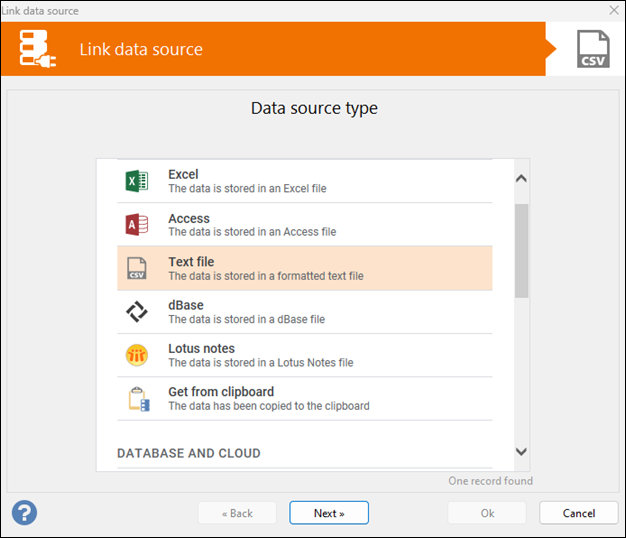
Figure 4: Data source type/Text file
- In the File selection window, browse to C:\PaladinPOS\Export\BinTagInfo.txt
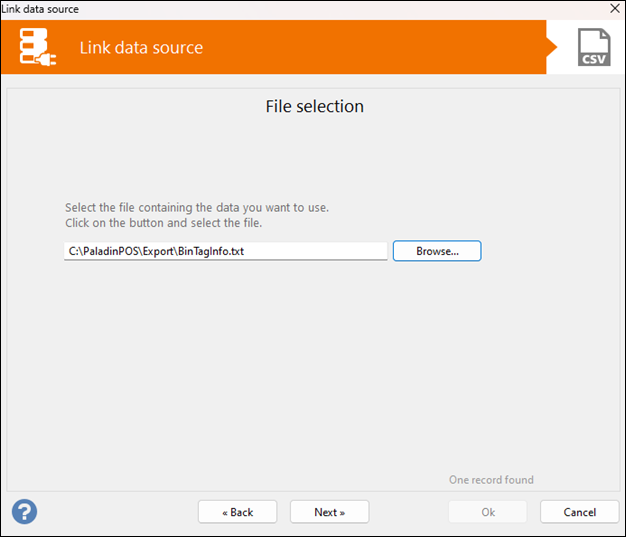
Figure 5: File selection
- Click Next.
- In the Header row settings window, enable The file does not have any column headers, just data.
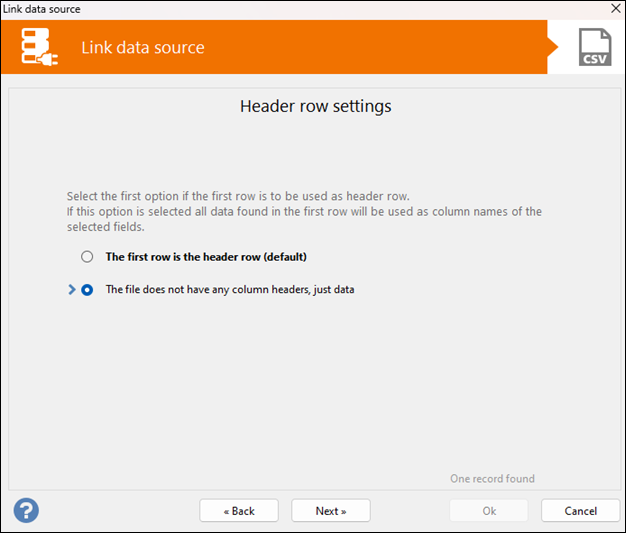
Figure 6: Header row settings
- Click Next.
- In the Field separator window, enable Tab (default).
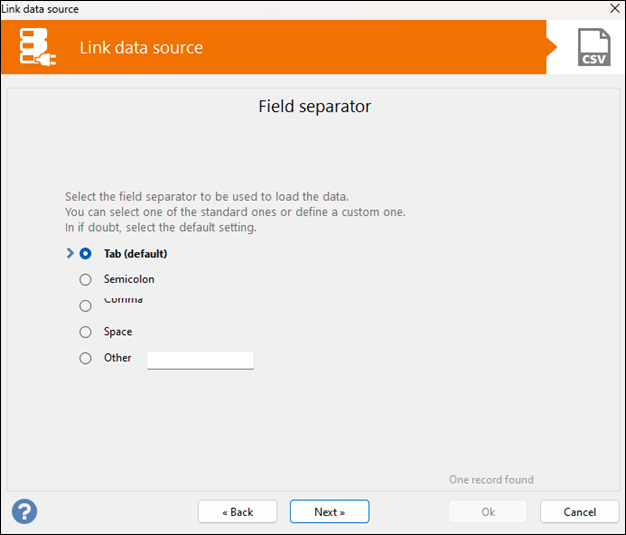
Figure 7: Field separator settings
- Click Next.
- In the Quantity window, leave Skip empty rows checked.

Figure 8: Quantity settings
- Click Next.
A preview of the linked data is presented.
Step 3
- In Paladin, from the main menu, select the Reports module.
- In the Report Area pane, select Inventory > Labels.
- In the Report List pane, select Bintag Information File.
- In the Chose Report pane, click F12 Next.
- In the Report Settings pane, configure the settings for the bintags.
- In the Sorting Options pane, click F12 Run Report.
Step 4
In LabelJoy, click Update Data under the Home ribbon. This updates the BinTagInfo file on the client’s PC.
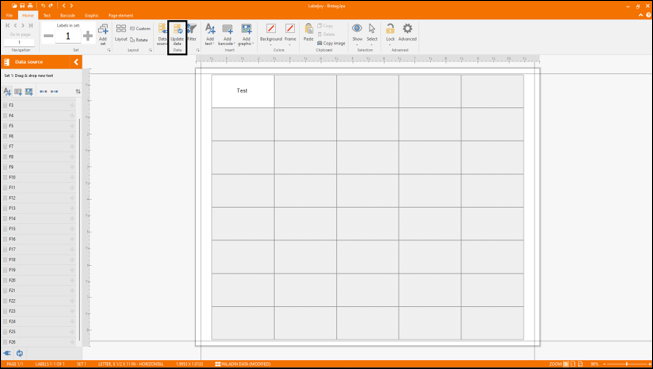
Figure 9: Update Data menu item
Step 5
- On the left side of the LabelJoy screen, under Data source, drag and drop the desired fields on to the label to start designing.
The following table provides keys for the link between the BinTagInfo file and LabelJoy:
|
LabelJoy |
Bintag Information |
|
F1 |
Location |
|
F2 |
Retail Price |
|
F3 |
Order Quantity |
|
F4 |
Description |
|
F5 |
Description 2 |
|
F6 |
MFG |
|
F7 |
Alt Partnumber |
|
F8 |
Part number |
|
F9 |
Order Qty then part number |
|
F10 |
Alt Partnumber |
|
F11 |
Partnumber |
|
F12 |
Print Date |
|
F13 |
Unit Cost (encrypted) |
|
F14 |
Brand Name |
|
F15 |
Price |
|
F16 |
Label |
|
F17 |
Class 1 ID |
|
F18 |
Department |
|
F19 |
Pricing level 2 |
|
F20 |
Pricing level 3 |
|
F21 |
Pricing level 4 |
|
F22 |
Broken Carton |
|
F23 |
Credit Price (only if cash discounting is enabled) |
|
F24 |
StoreID |
|
F25 |
Market Cost (encrypted) |
- After completing building your Bbintag, name your file and save it in the desired location.
- Select File > Save > Save As as your default template.
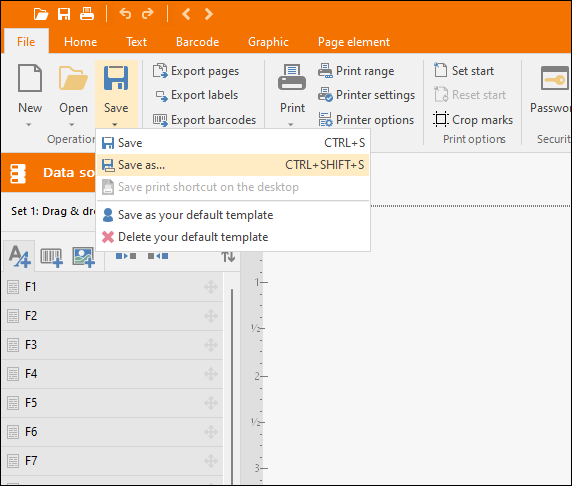
Figure 10: Save option
For more information about LabelJoy and how to use it, visit https://www.labeljoy.com/video/
If you have questions or suggestions about this information, contact support@paladinpos.com.
