For clients to recognize what supplier is providing parts to their stores, they need to perform the following:
- In Paladin, from the main menu, select File > Setup.
- Select the Supplier tab.
- From the Suppliers list, select a supplier. This populates the information for the suppler (i.e., Name, Supplier Number, Address, and so on).
- In the Part Number String box, assign an identifier.
Note: The recommendation for identifiers are uppercase letters (do not use O) or a dash. Do not use special characters.
- In the Part Number String Position box, assign where the identifier will be place in the part number string. For example “3”
- Click Save, then click Close.
In Figure 1, an “L” is placed in the third position of a part number string; with this, the part number 12L49812 comes from Test Supplier Co.
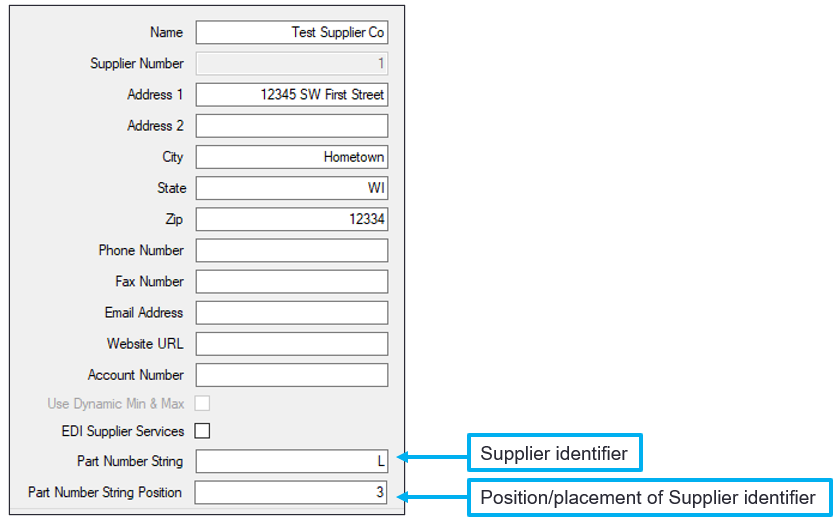
Figure 1: Supplier identifier/Position/placement of Supplier identifier
All other suppliers in the Suppliers list are assigned numbers associated to when you created a new supplier. For example, LEGGETT SUUPLY INC. is supplier “33.” You could assign the character “P” as the Part Number String and assign the Part Number String Position to “6.” The part number would then be identified as: 14374P.
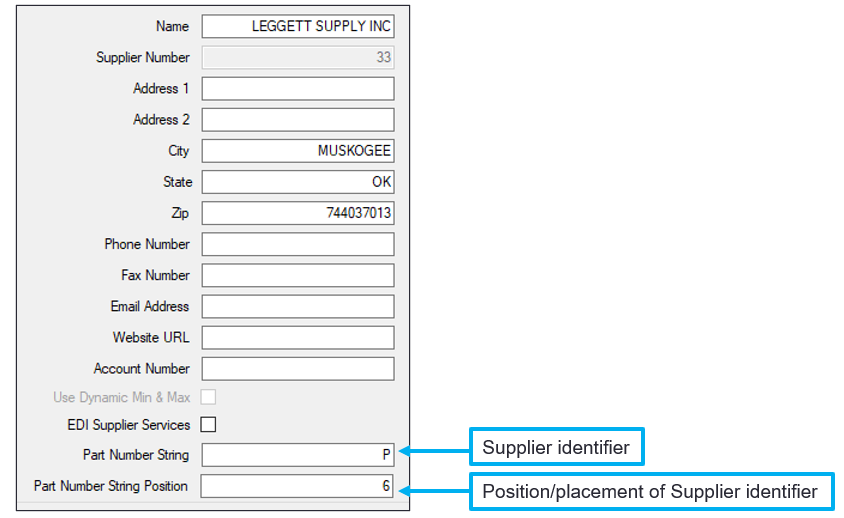
Figure 2: Part number identifier/Position/placement of Supplier identifier
If you have questions or suggestions about this information, contact support@paladinpos.com.
