As an expansion of inventory’s Auto Text feature, rather than allowing a unique message per inventory item, receipt text is a single four line message that appears on the customer’s receipt (when triggered).
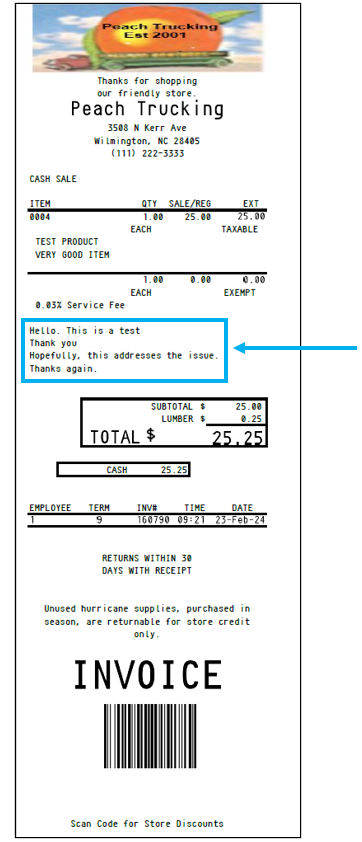
Figure 1: Receipt text
To enable this feature:
- In Paladin, from the main menu, select File > Setup.
- Select the Company tab.
- In the Receipt Text pane, check Enable Receipt Text.
- In the Receipt Text Class Number field, enter the Class number to trigger the message.
- In the Receipt Line field (there are 4 available), enter the text to be shown on receipts.

Figure 2: Receipt text setup
- Click Save, then click Close.
If you have questions or suggestions about this information, contact support@paladinpos.com.
*Content is subject to change. For the most recent version, visit the Help Portal.
Printed on: 4/24/24
